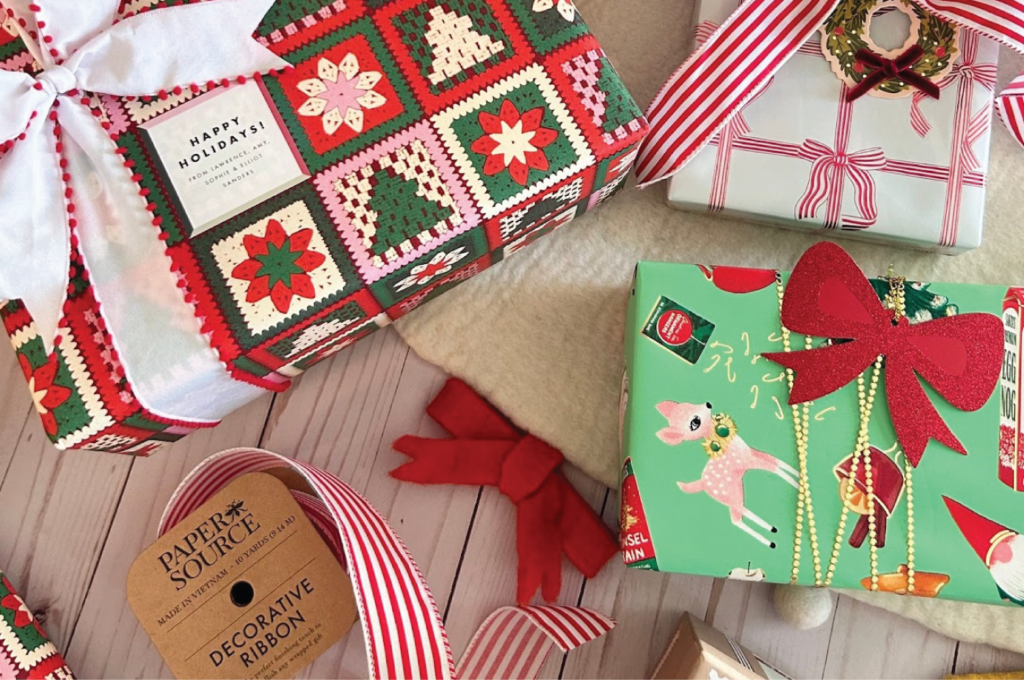
We’ve all heard the saying, “it’s the thought that counts,” and a beautiful presentation makes that thought even more meaningful! This season, we’ve gathered some creative gift-wrapping ideas to add an extra touch of magic to your holiday gifts. With so many festive patterns and styles available, there’s a look for every personality. After all, part of the present is the presentation!
Let’s start with the box. When wrapping holiday presents, remember that attention to detail goes a long way! Choose a box that fits your gift snugly—too big and the gift can look small; too small and the box may warp. Line the box with 2-3 sheets of tissue paper folded to fit, place your gift inside, then fold the tissue over it carefully to keep it hidden. Add the lid, and you’re ready to wrap!
The Layered Look
For a stylish layered look, try combining solid and patterned rolls of wrapping paper. This technique works especially well with metallic or textured papers paired with bold holiday designs. For unique wrapping paper options, visit Paper Source online or at their Birmingham and Rochester Hills locations.
Base Layer: Wrap the gift in either a solid color or patterned paper.
Top Layer: Cut a strip of contrasting wrapping paper and wrap around the middle of the box as a “belt.”
Decoration: Tie a bow in a complementary color around the middle for a chic, multi-layered look
Make your gift Kraft-y
Wrapping paper doesn’t have to be expensive. For a cost-effective, farmhouse-inspired look, try brown kraft paper or white butcher paper instead of holiday-themed paper. This style is perfect for evoking a cozy, homey touch.
Base Layer: Wrap gift with brown kraft or white butcher paper
Decoration: Decorate with twine or ribbon adding a touch of greenery: Tuck sprigs of rosemary, eucalyptus, or pine branches under the ribbon, or tie on a dried orange slice or stack of cinnamon sticks.
Tags: Use a wooden name tag for that special touch.
Put a bow on it
A bow on a package is the finishing touch. Before the invention of clear tape, bows were used to secure fabric or paper around the gift. Today, with an endless array of ribbon options—ranging from elegant satin to rustic burlap—you can craft stunning bows in just minutes. Follow these steps to make one yourself!
- Wrap ribbon around your hand five times. We recommend wired ribbon for the best results. The bigger you make the loops, the larger the bow. Once you have the bow size you want, cut the ribbon from the roll.
- Remove the ribbon from your hand and hold it in the center, taking a second ribbon (curling ribbon works well) and tying it around the center of the looped ribbon.
- Separate, open and twist the loops one by one to create a full bow.
Source: Family Handyman


