Looking to give your kitchen a quick lift? Painting your kitchen cabinets will take about three days and can leave your cooking space with a whole new look. Although this project may seem a bit daunting and requires a little skill, we have a few hacks that will help the project go as smooth as your “new” cabinets will look!
1. Prepare for the project.
Even though it seems like an extra step, removing your cabinet doors will make the project a lot easier in the long run. It’s recommended to take one door off and go to a local paint retailer/home improvement store to get a professional’s advice on the best materials to use for your specific cabinets.
You’ll want to watch out for painting over quality cabinets made of solid wood, as those may benefit more from staining instead of painting. While you’re at the store, pick up all of the materials you’ll need. This may include: paint brushes, paint trays and stirring sticks, paint rollers, painter’s tape, wood filler, 120-220-grit sandpaper, primer paint and paint. Gather up the tools you likely already have in the garage including a screwdriver, drill and pliers.
2. Remove all cabinet shelves, doors, drawers and hardware.
Empty your cupboards and remove the shelving inside. Remove the cabinet doors by unscrewing them off the hinges. You’ll want to do this because painting over hardware will affect the way the doors/drawers function. Make a sketch to note where each door and drawer belongs for easy reassembly.
3. Clean and prep cabinets and drawers.
Wash any dirt and grease from the surfaces of the cabinet faces, drawers and cupboard frames. If your cabinets had a glossy finish, you’ll want to apply a liquid deglosser which will help the paint stick better. On extra glossy surfaces, use the 120-220-grit sandpaper to dull and smooth the surfaces. Make sure to remove all dust from the surfaces before moving on to priming. Fix any knicks or holes with wood filler.
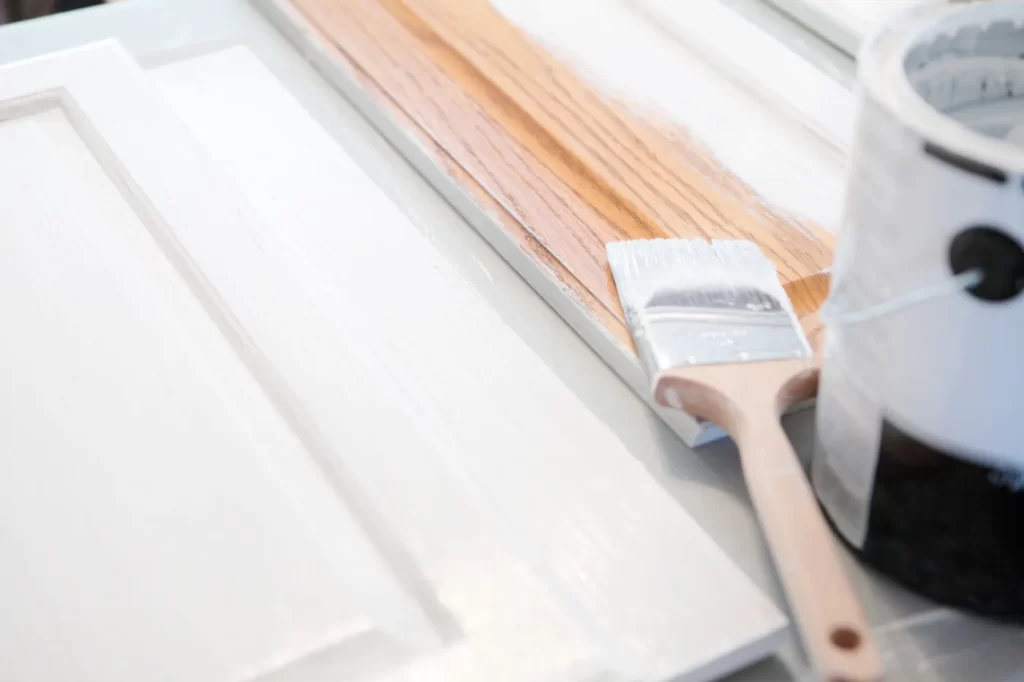
4. Time to prime
Place down drop cloths or sheets to protect your floors and counters. Use a foam roller or a paintbrush to apply a stain-blocking, oil-base bonding primer to the cabinets. Give it time to dry (follow the manufacturer’s directions). If brush strokes are visible, lightly sand to smooth. Do this on all the cabinet doors, shelves and drawers.
5. Paint!
Start with brushing, rolling, or spraying your cabinet doors, drawers and shelves with one coat of paint. Let it dry completely before going for the second coat. You’ll likely only be able to paint one side at a time – practice patience and give them plenty of time to dry. While waiting between coats, move to the inside of the cabinet frames. Start from the inside and work your way out. Then start on the outside of the cabinet frame. Don’t forget to paint the front edges of your shelves!
6. Reassemble your kitchen.
Once everything is fully covered and dried, it’s time to reassemble your cabinets. You’re almost there! Using the sketch you created when disassembling, hang the cabinet doors back where they were originally. Screw all of the hardware into your drawers and place them back into their slotted areas.
Dust off your hands and scrub the paint out of your hair – your kitchen is now looking 10 years younger!